Installing Ansible Tower on CentOS 8 for testing with vRA 8.1
To try out the new integration with Ansible Tower from vRealize Automation 8.1 I'll need an Ansible Tower server. This is how I installed it on CentOS 8.

Now that vRealize Automation 8.1 has been released, I am keen to try out the new integration with RedHat Ansible Tower. Having had to either create my own integration to it with vRA 6.x or 7.x or use a third party plugin, both of which have their drawbacks, the prospect of having a native integration is quite exciting! Before even touching vRA 8.1 though, I'll need an Ansible Tower host...
In my homelab CentOS is the defacto standard for linux servers. It's similar enough to (RedHat Enterprise Linux) RHEL that most commands and scripts are transferable and it doesn't need any sort of license or subscription. I recently created my own vSphere templates for CentOS 7 and CentOS 8 using Packer (more to follow in another post on that) and this is the perfect use-case to try it out. As for why I'm writing this post, yes RedHat have their own documentation, but I found it a little difficult to follow at times and it's nice to be able to refer back to this later.
01 - Deploy a new server
My first step was deploying a new CentOS 8 server from template and giving it a static IP address. And yes, I also added it to DNS! I also configured it with 2 vCPUs, 4GB RAM and a 50GB disk. The RedHat docs highlight that these are minimum requirements for Tower.
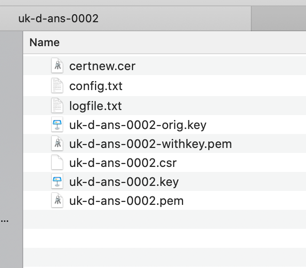
02 - Create SSL certificates
I've also been rolling out trusted SSL certificates everywhere lately rather than relying on self-signed ones. Ansible Tower should be no different. I have a process that is partially scripted and just requires me to modify a configuration file, copy and paste the resulting CSR into my web interface of my Microsoft Intermediate CA and download the issued certificate. A couple of commands in and around that process take care of producing the necessary files. (This step might be optional, but I prefer to do it.)
03 - Add the EPEL release repository
The installation process for Ansible Tower relies on opensource Ansible to execute. This means that you need to have Ansible installed to run the Tower setup. You won't find Ansible in the standard repositories that CentOS has though, you have to add RedHat's epel-release respository:
sudo dnf install -y epel-release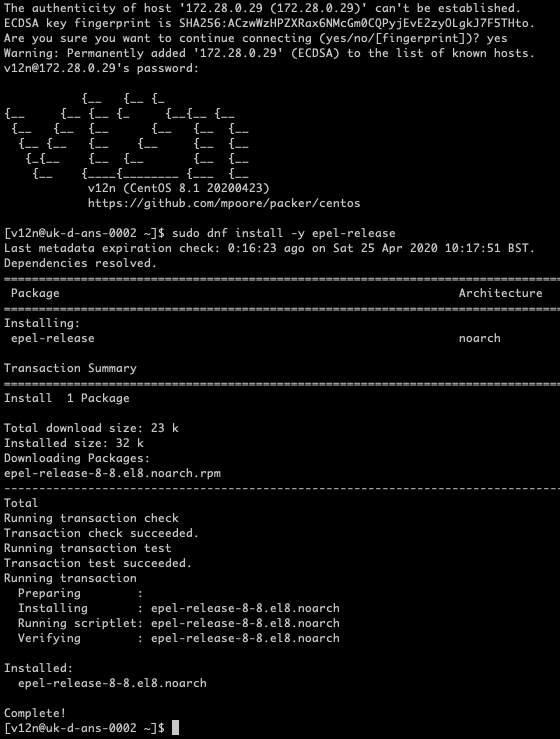
04 - Expand the disk size in CentOS
I almost forgot this step. My new CentOS template has a 16GB standard disk size. Even though I made the underlying disk bigger when I cloned it, the partitions and filesystems haven't been updated to reflect it. Luckily I have a script that I use:
#!/bin/bash

# Grows root logical volume to maximum size for the disk on Centos OS
# @author Michael Poore
# @website https://blog.v12n.io

# Check for required packages and install
if ! rpm -qa | grep growpart; then
    /usr/bin/yum install -y cloud-utils-growpart
fi

# Get logical volume path for root
rootPath=$( df / | awk '!/Used/ {print $1}' )

# Get volume group name
vgName=$( lvs --select lv_name="root" | awk '!/LSize/ {print $2}' )

# Get physical volume name etc
pvName=$( pvdisplay --select vg_name="$vgName" | grep "PV Name" | awk '{print $3}' )
pvDevice=$( echo $pvName | grep -o '\/dev\/[a-z]*' )
partNum=$( echo $pvName | grep -o '[0-9]' )

# Extend root volume
growpart $pvDevice $partNum
pvresize $pvName
lvextend -l +100%FREE $rootPath
xfs_growfs /After running it my root filesystem had 46GB free space.
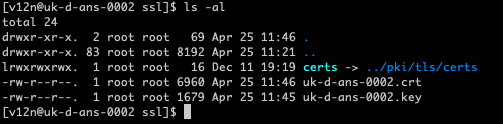
05 - Prepare SSL certificate files
If you're going to be using your own certificates then it's time to get them in place. I put these files in /etc/ssl. There may be a better place for them but it worked for me.
06 - Install Open Source Ansible
If they're not present already, I'd also suggest adding vim and curl too:
sudo dnf install -y ansible vim curl07 - Download and extract Ansible Tower
Ansible Tower doesn't come as a package that you can install with yum or dnf. It has to be downloaded more manually and then unpacked.
curl -k -O https://releases.ansible.com/ansible-tower/setup/ansible-tower-setup-latest.tar.gztar xvzf ansible-tower-setup-latest.tar.gz08 - Modifying the configuration file
Don't rush off and run setup.sh just yet! It's tempting I know, but there's a configuration file that needs some modification first. The files that were just extracted will have ended up in a directory called "ansible-tower-setup-<version>", where the version will depend on what the latest version actually is. At the time of writing it's 3.6.4-1. Change in to that directory and edit the "inventory" file with your preferred editor.
The items that you MUST set are:
- admin_password
- pg_password
- rabbitmq_password
These are illustrated below by large red arrows.
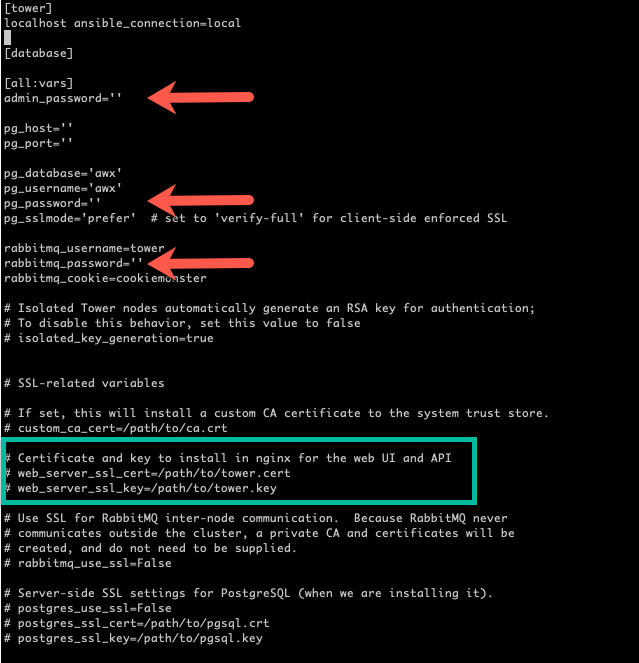
If you plan to use your own SSL certificates, then the two web_server* entries (in the green box) should be modified to provide the path to your certificate chain and private key. Uncomment these lines and provide the path.
09 - Run the setup
Once you have saved the inventory file you can safely run setup.
sudo ./setup.shSit back and wait or go and grab some tea / coffee / other delicious beverage - it'll be a few minutes.

There will be some red errors that flash up occasionally, even if everything is going well. It took about 12 - 15 minutes for my installation to complete, but when it did I was greeted with the following:
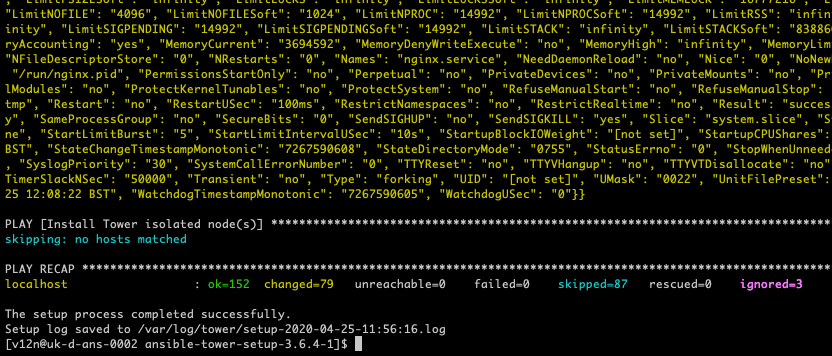
10 - First login
There's no time like the present to test it out. Simply point a browser at https://<server-name> and go!
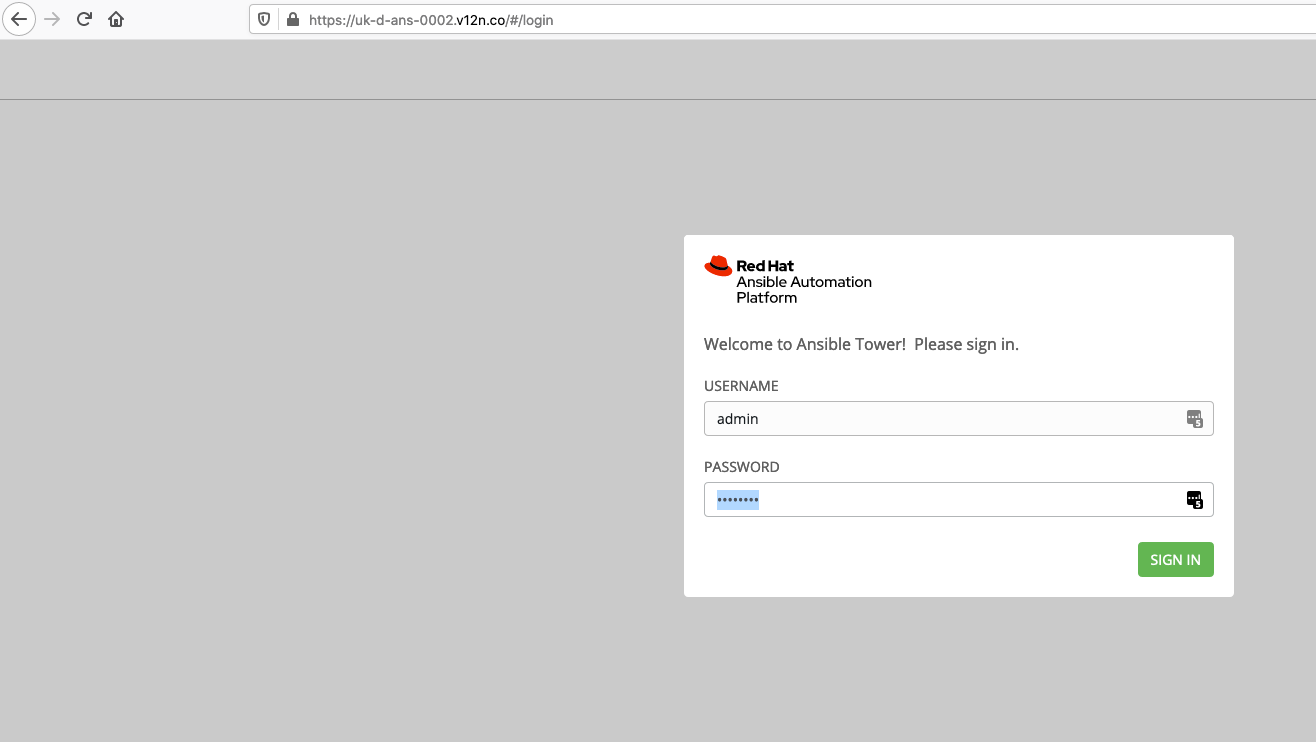
Note that because I provided my own SSL certificates, signed by a CA that my browser trusts, the padlock on the address bar isn't alerting me to an untrusted certificate.
To login via the UI, use the username "admin" and the password that you set in the inventory file for the item admin_password.
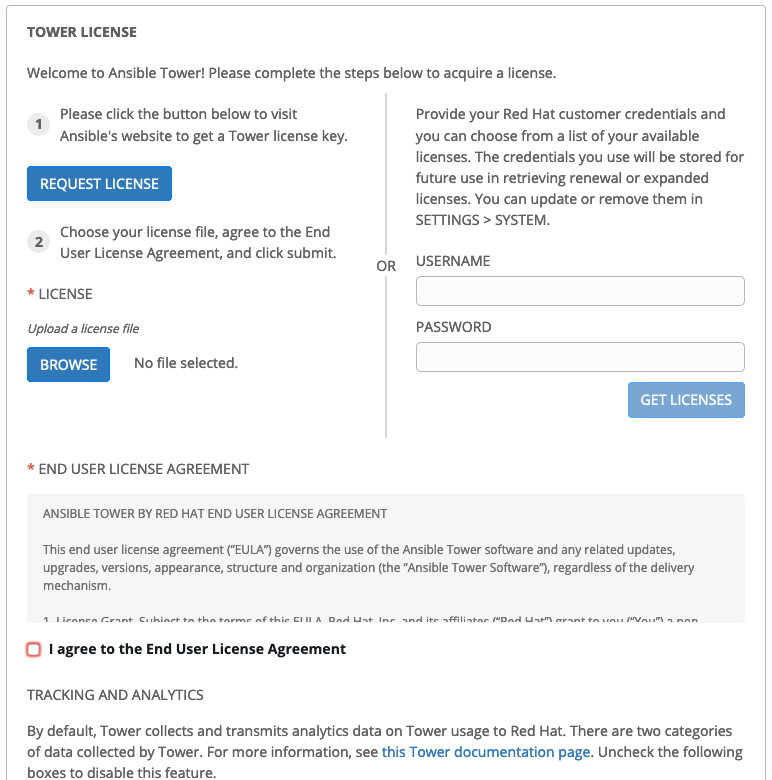
You'll now get prompted for a license, you're on your own there!
I hope this was helpful. I'm going to see how this integration with vRealize Automation 8.1 works now...