Creating vSphere VM templates with Packer (part 2) - Preparation
Now Packer is introduced, it's time to prepare for using it to create some vSphere templates. This is part 2 of a series.

I've introduced Packer, what I want to use it for and why. Now it's time to get going.
Where to run Packer
You can run Packer on a wide ranges of OSs. There are many listed on the Packer download page, even S390!!! For me, I wanted to run it inside my lab for a number of reasons.
- To implement a workflow that involved pushing code changes in to my Git repository from my development workstation (laptop) and pulling them down to execute elsewhere so that I don't miss anything.
- To keep the execution of Packer within my lab network and not be pushing lots of data across my home Wifi network - in these lockdown days Wifi is a critical resource for all!
- I eventually want to automate / schedule template creation and not have it tied to my laptop.
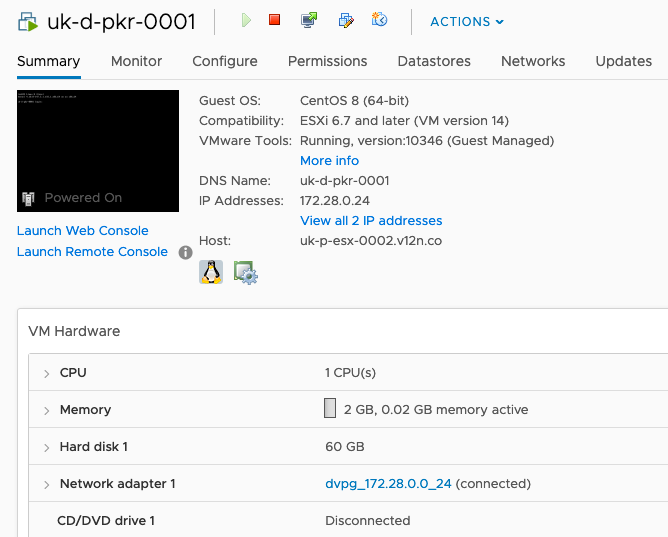
To that end, I created a simple CentOS 8 VM that I could connect to via SSH and execute Packer builds.
Download Packer
Packer is a standalone executable. It doesn't need "installing". On my CentOS server I simply unzipped it:
unzip packer_1.5.5_linux_amd64.zipI placed it in /usr/local/bin and made sure that the directory was added to my path using:
export PATH=/usr/local/bin:$PATHLocal firewall
One of the features in Packer is the ability to create a small HTTP server on the host that's running Packer to server up some content. The reason for doing this is so that I can serve up KickStart files for linux installations via HTTP.
firewall-cmd --zone=public --add-port=8601-8610/tcp --permanent(When I first set this server up I forgot to add the --permanent switch. This came back to bite me a few days later when I had to power-cycle some things in my lab!)
DHCP
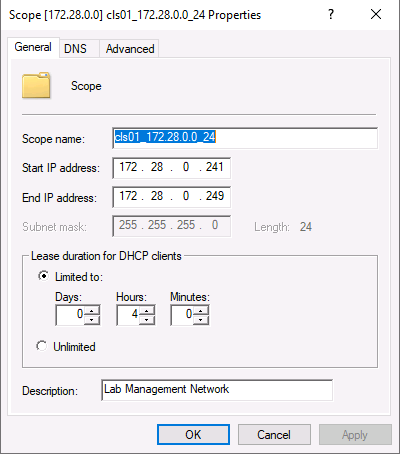
If I want my built templates to be able to pull updates from the internet or execute scripts that require network access then they're going to need IP addresses. There's no-way that I want to assign a static IP address in a template if I can help it so I setup a small DHCP scope with a short lease time.
Download ISOs
Installation media is required, of course. I accidentally deleted my archive a few weeks ago so it's rather slim at the moment but I have what I need. I'd advise downloading the most recent ISOs for whatever OSs you plan to install. Yes you can patch the resultant VMs but it maks so much more sense to start with an image that has the latest patches possible already baked-in in a supported manner.
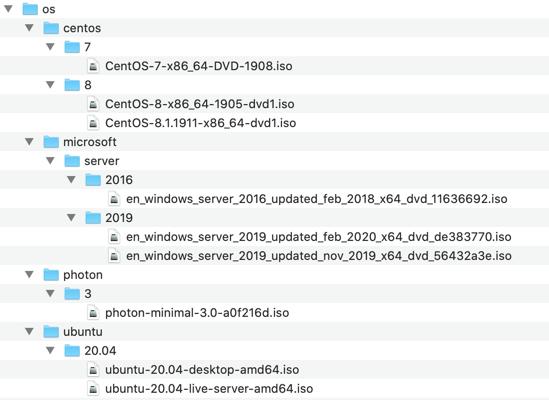
As you can see in the screenshot above, I have a folder structure of ISO files ready to go. Where possible, I've downloaded the latest versions of these. This folder structure is available to my ESXi hosts as an NFS datastore. It's also available via HTTP if I want. I'll cover off the pros and cons of each approach later.
Other artifacts
Applying updates to the VMs that Packer has built is, of course, optional. But why would you not want to patch your templates up to the latest possible if you can?
Now for Linux OSs that can connect to the internet whilst being built, the likes of yum / dnf / apt-get can easily be used to pull down and install all necessary updates. Windows is a slightly different beast. I'll cover it in more detail later but I struggled to get it working reliably at first until I stumbled across an excellent third-party provisoner that manages the process very well. It's worth getting this downloaded as well.

Like the packer executable, it just needs unzipping and placing somewhere. I put it in /usr/local/bin alongside Packer.
So that's the setup. In the next post I'll cover off the different bits and pieces that make up a build and some of the choices I had to make along the way.
Other posts in this series:
- Introduction
- Configuring Packer server and required files <-- $this
- Variables, builders and provisioners
- vSphere variables
- Windows Server templates
- CentOS templates
- Further plans (including scheduling packer)
My public Packer repository:
 mpoore