Fixing VMware Identity Manager Network Properties Precheck Error
If you're trying to upgrade VMware Identity Manager and are warned that network properties are missing then this article may help you.


vRealize Automation 8.6.2 became generally available (GA) on January 18th 2022 and I don't like to leave it long to update it as there are monthly releases. However, alongside vRA 8.6.2 is an important update for VMware Identity Manager to 3.3.6.
It's a fairly minor release, as you can see in the release notes, with a number of security vulnerabilities being addressed including the much publicised Log4j one.
Following on from some health checks I was ready to proceed with updating vIDM. I had taken snapshots and removed the backup nodes from my load balancer. All that remained was the prechecks. But some of them failed...
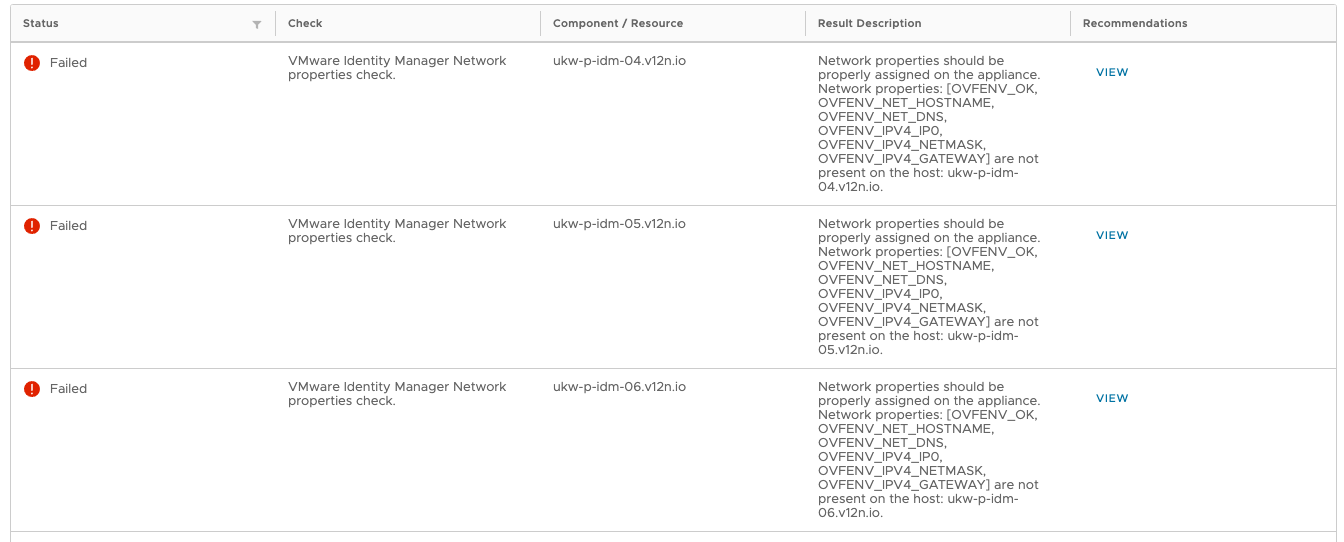
To help the search engines, the text of the message(s) is as follows:
Network properties should be properly assigned on the appliance. Network properties: [OVFENV_OK, OVFENV_NET_HOSTNAME, OVFENV_NET_DNS, OVFENV_IPV4_IP0, OVFENV_IPV4_NETMASK, OVFENV_IPV4_GATEWAY] are not present on the host: ukw-p-idm-04.v12n.iovIDM had been working without issue prior to this, and I'm still not sure why the properties mentioned were missing, but it had to be fixed to carry on. Luckily the Recommendations column contains a link to a VMware KB article (83587) on this issue. However it doesn't take you through the resolution in detail. There are some potential gotchas along the way.
Preparation
Having got as far as being about to run the upgrade, there are some things that have to be undone first.
- Re-add the backup nodes to your load balancer. If you're running a clustered instance of vIDM you should start off with all three nodes enabled behind your load balancer.
- If this is a production service, you'll need to schedule some downtime. As the KB article above says, you'll need to shutdown your appliances.
- Make sure that you know all of the network configuration (IPs, hostnames, DNS servers etc) for all nodes.
- Make yourself a cup of tea*

* Other beverages are availablePower Off vIDM
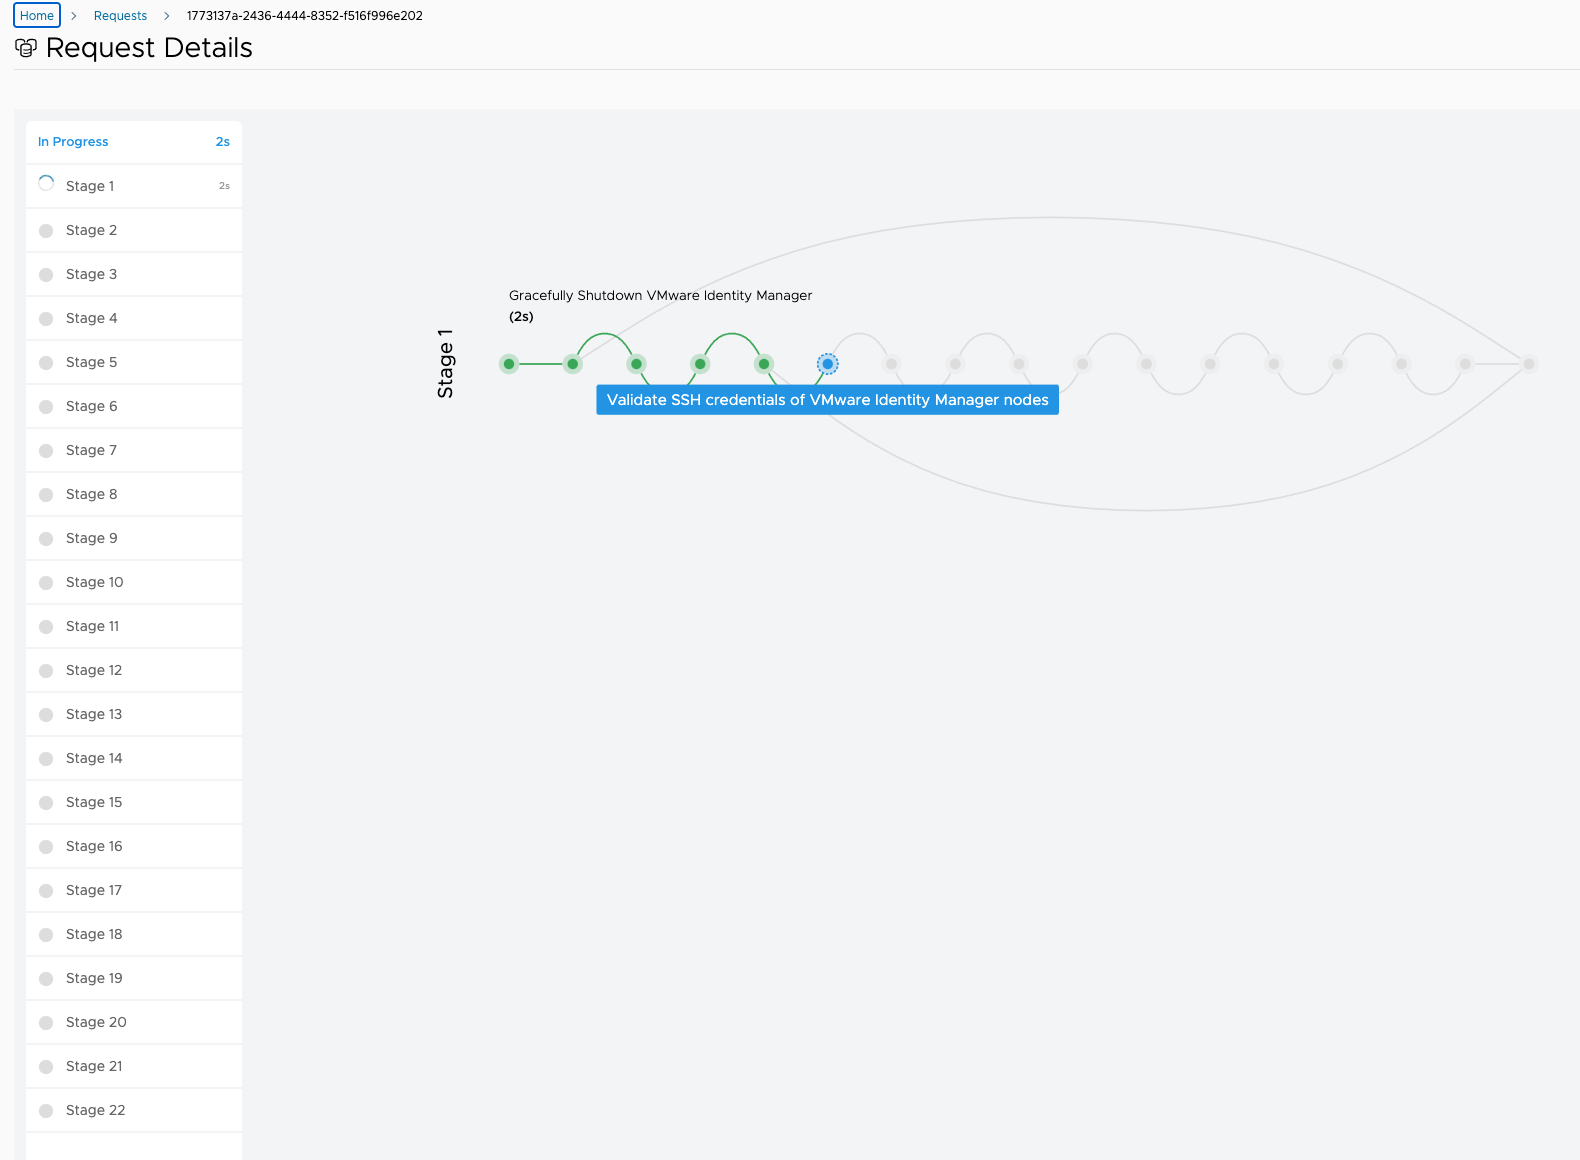
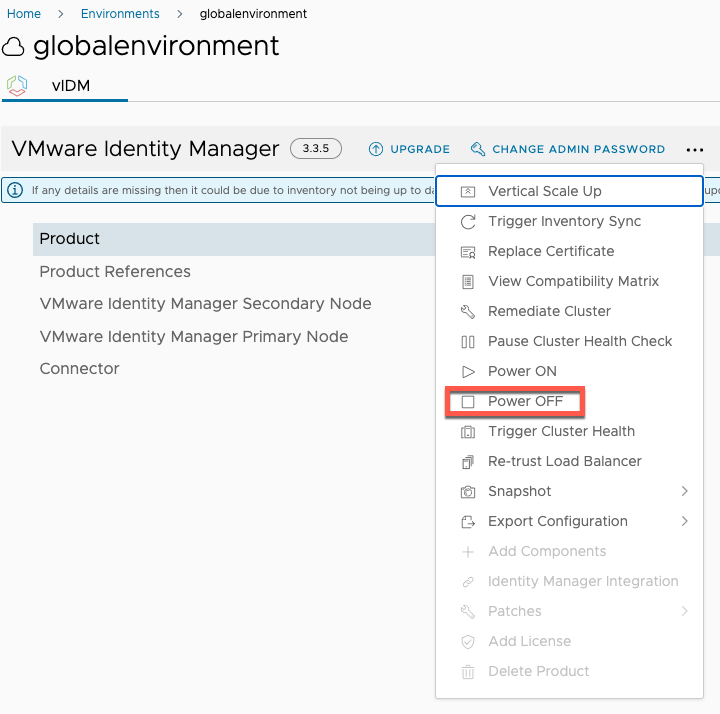
Next up, we need to shutdown vIDM gracefully. This is achieved through Lifecycle Manager (vRSLCM) using a Day 2 operation, as shown below.
That will take a couple of minutes to complete but by the end of it your vIDM cluster will be shutdown and the VMs powered off.
Add vApp Options
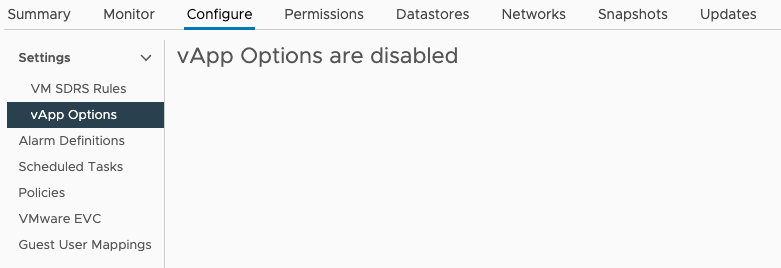
For this we need to head over to vCenter. We need to apply some vApp Options to each of the vIDM appliances. When I looked at each of my appliances in vCenter, none of them had any options set at all.
I'm not sure why this happened. They would have been present and set when vIDM was initially deployed. Apparently they are lost if the VMs have been removed and re-added to vCenter but I don't recall doing that ever. What's important though is to get them back. And this is where the KB article wasn't too clear for me and, I must confess, I did make a mistake that cost me some time on a Wednesday night!!!
Enable vApp Options
For each of the three appliances I had to Edit the vApp Options to enable them. This opens a dialog box that looks like this:
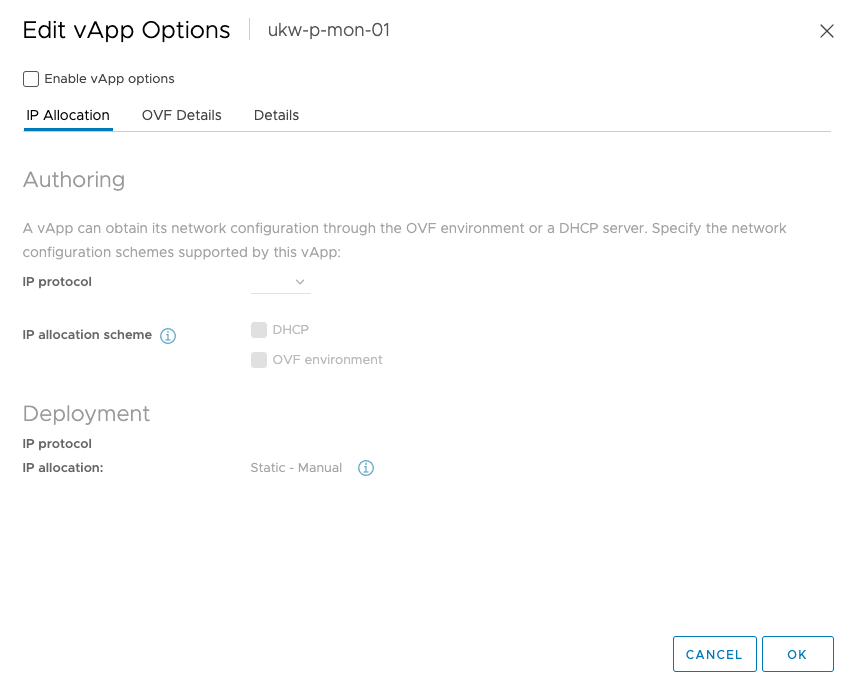
Perform the following for the Authoring section:
- Check the 'Enable vApp Options' checkbox
- Select 'Both' for the IP protocol
- Check 'OVF environment' for the IP allocation scheme
Under the Deployment section, set the following:
- Select 'IPv4' for IP protocol
- Leave the 'IP allocation' set to Static - Manual
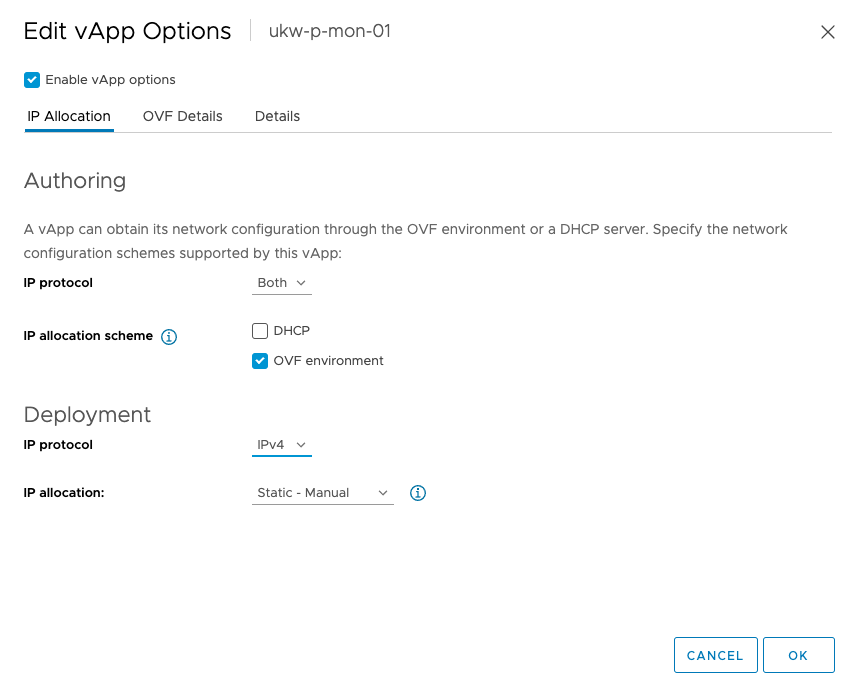
You should have something that looks like this:
On the OVF Details tab, the only thing you need to do is check the box next to 'VMware Tools' for the OVF environment transport.
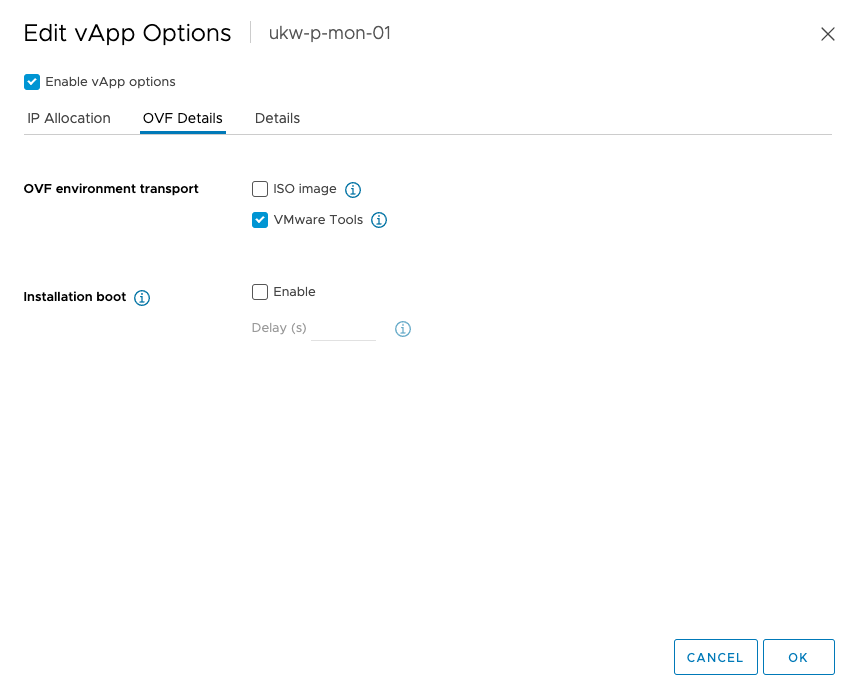
Once that is done you can click OK and close the dialog box. You'll now see that vApp Options is no longer disabled:
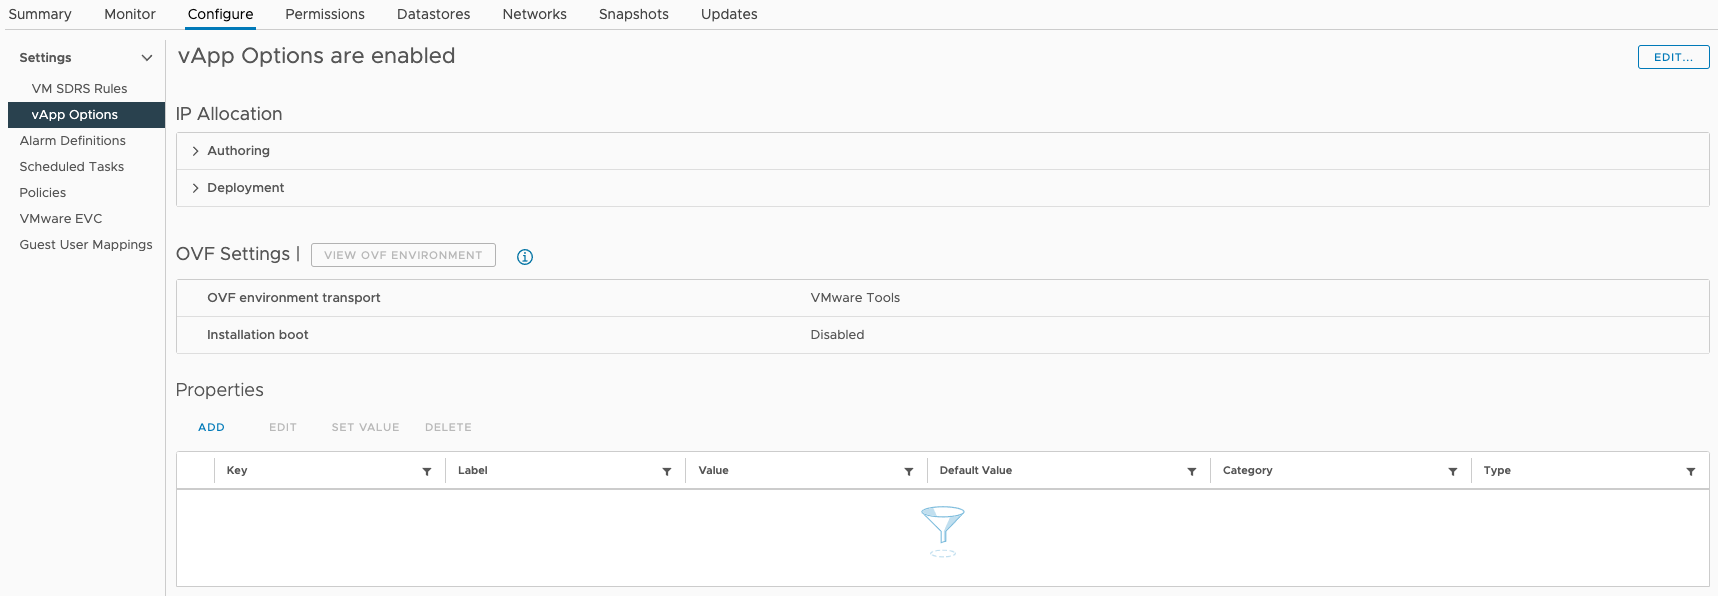
There's still more to do here though...
Set Properties
The properties in the bottom of the screenshot above are what vRSLCM was complaining about. Basically, there aren't any!
When you click the ADD button / link by the Properties table, you get a dialog box open with two tabs on it. Those tabs are:
General
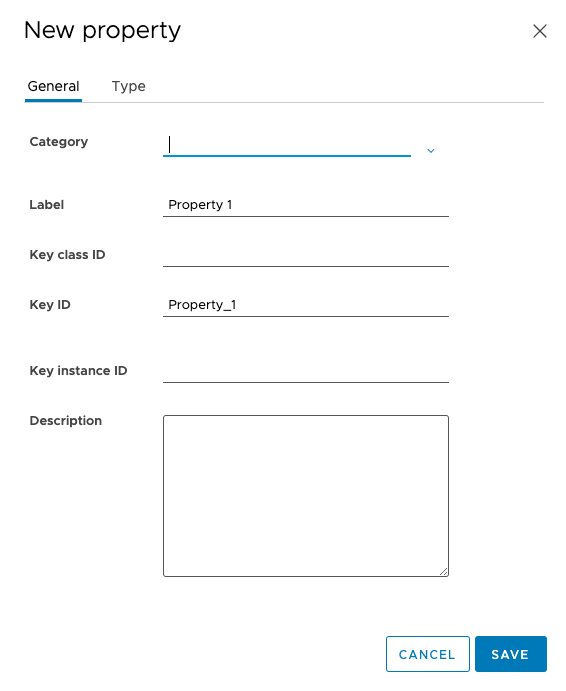
Type
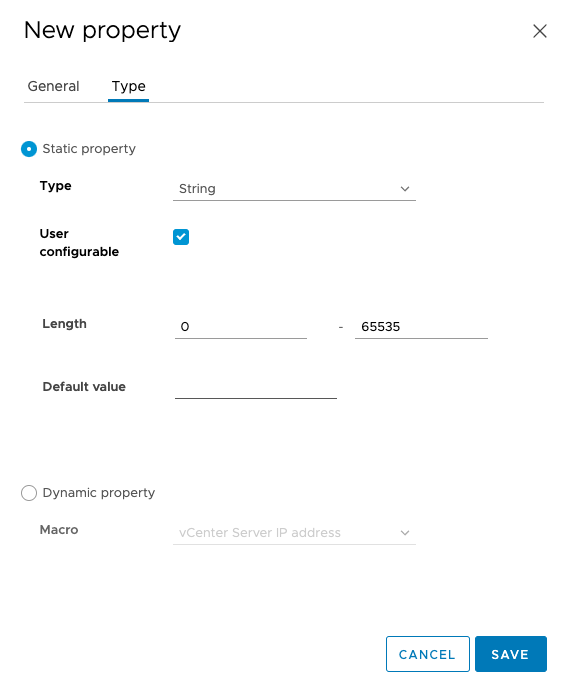
For each of the properties in the table below, you must click the ADD button / link and fill in the relevant information.
| Label | Key class ID | Key ID | Key instance ID | Type |
|---|---|---|---|---|
| vmname | vm | vmname | String | |
| CEIP | ceip.enabled | Boolean | ||
| Timezone | vamitimezone | String | ||
| DNS | vami | DNS | IdentityManager | String |
| Gateway | vami | gateway | IdentityManager | String |
| Domain | vami | domain | IdentityManager | String |
| Domain Search | vami | searchpath | IdentityManager | String |
| FQDN | vami | hostname | String | |
| IP | vami | ip0 | IdentityManager | String |
| Netmask | vami | netmask0 | IdentityManager | String |
Next, revisit each property and set values for them per the table below (although use values that are appropriate for your environment):
| Key | Value | Description |
|---|---|---|
| ceip.enabled | False | This setting dictates whether the Customer Experience Improvement Program (CEIP) should be joined. Set it to 'True' or 'False', but it must have one of these values or the VM will not power on (this is one of the gotchas I warned you about). |
| vamitimezone | Etc/UTC | The timezone for the appliance (see https://en.wikipedia.org/wiki/List_of_tz_database_time_zones). It must be the same on all three appliances. |
| vami.domain.IdentityManager | v12n.io | The DNS domain that the appliance belongs to. |
| vami.gateway.IdentityManager | 192.168.1.254 | The IPv4 default gateway for the appliance. |
| vami.hostname | vidm01.v12n.io | The FQDN of the appliance. There must be a DNS entry for this present. |
| vami.ip0.IdentityManager | 192.168.1.51 | The unique IP address assigned to this appliance. |
| vami.netmask0.IdentityManager | 255.255.255.0 | The subnet mask |
| vami.searchpath.IdentityManager | v12n.io | The default domain(s) that the appliance searches for hostnames in. |
| vami.DNS.IdentityManager | 192.168.1.1,192.168.1.2 | A comma separated list of DNS servers to use for name resolution. |
| vmname | IdentityManager | This is NOT the name of the VM in vCenter. It MUST be set to 'IdentityManager' (another gotcha). |
Power ON
Finally, once you have completed this for all three appliances, head back in to vRSLCM and now Power ON the vIDM cluster.
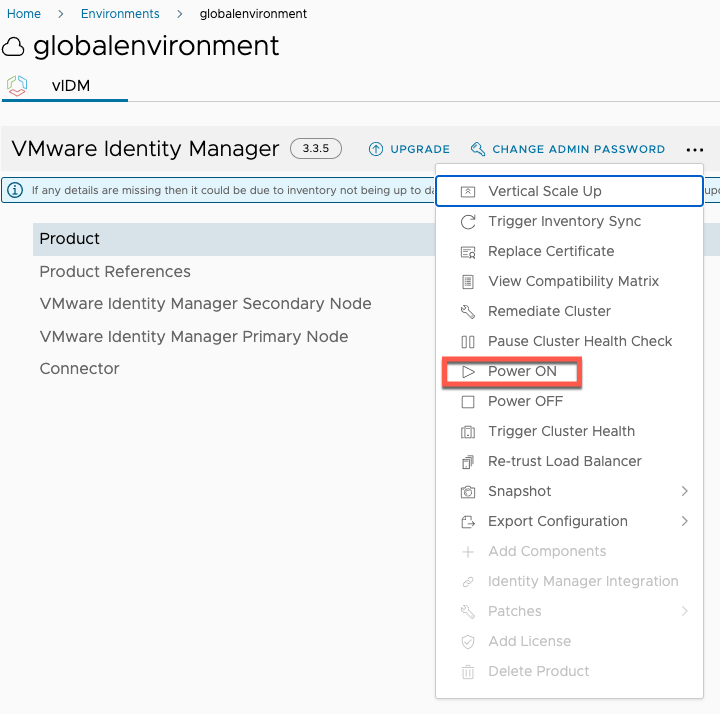
The process will take a few minutes. But you're on the home straight now.
Finally
Make sure that you check the health of PostgreSQL, vIDM in general and take snapshots. You should now find that your prechecks complete successfully and you can upgrade!