Migrating from Wordpress to Hugo Part 3: Hosted Zones in Route53

I originally drafted this in June 2018. Following on from Sam McGeown's recent migration to Hugo, I thought I'd finally publish this in case it's useful for anyone rather than sitting on it until I complete the process!
It's Always DNS
When things go wrong in the IT world DNS misconfiguration is one of those things that often sits at the root of your problems. It's important to get it right not only for correct functioning, but also because some of the subsequent steps depend on it.
As part of my migration of this blog to Hugo, I'm placing one of the two domains I'll be using under the control of the AWS Route53 (Amazon's DNS service). I'll move the other one in time as well.
Creating a Hosted Zone
I tend to use separate providers for domain registration and hosting as I've found it easier to move my site(s) around when you can just update the domain's nameserver (NS) records to point to the new provider rather than have to transfer the domain as well. Practically all of my domains (I host a couple of sites for local community interests too) are registered through FastHosts.
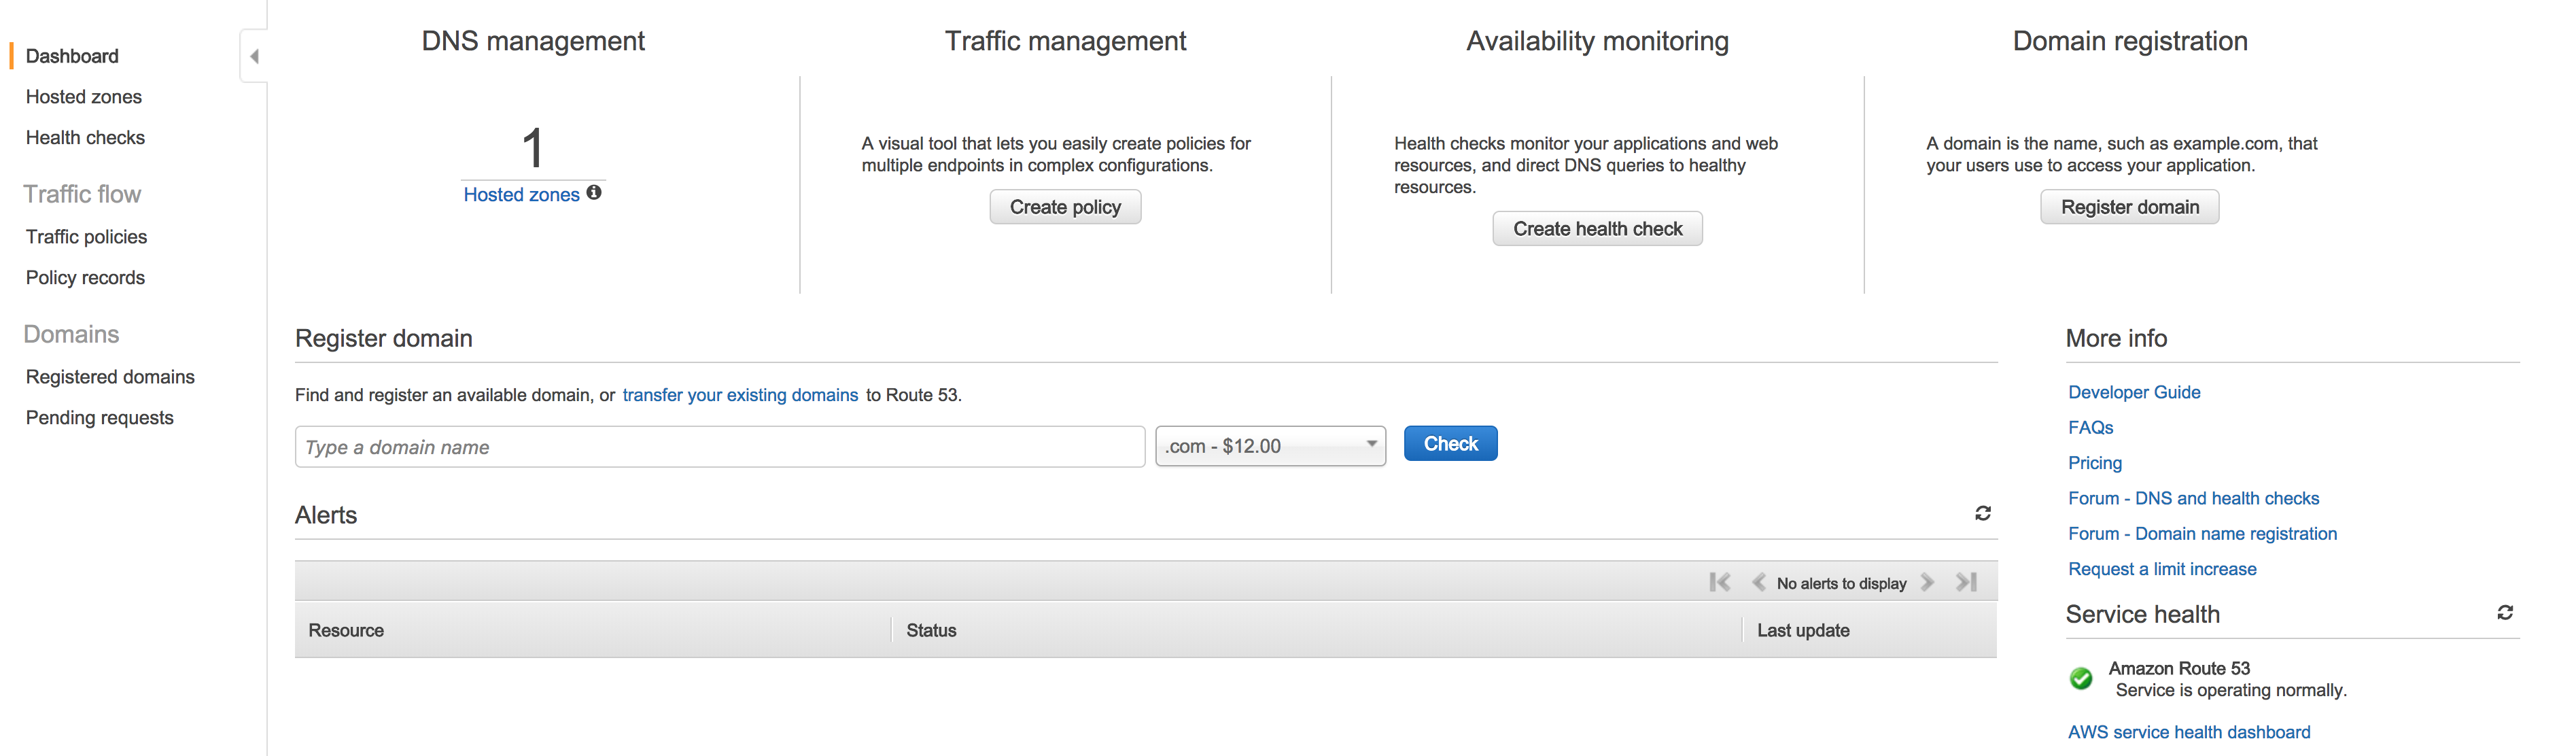
AWS cater for this sort of arrangement too in Route53 (their DNS service). From the Route53 dashboard, all I had to do was select “Hosted zones” from the menu and then click the “Create Hosted Zone” button.
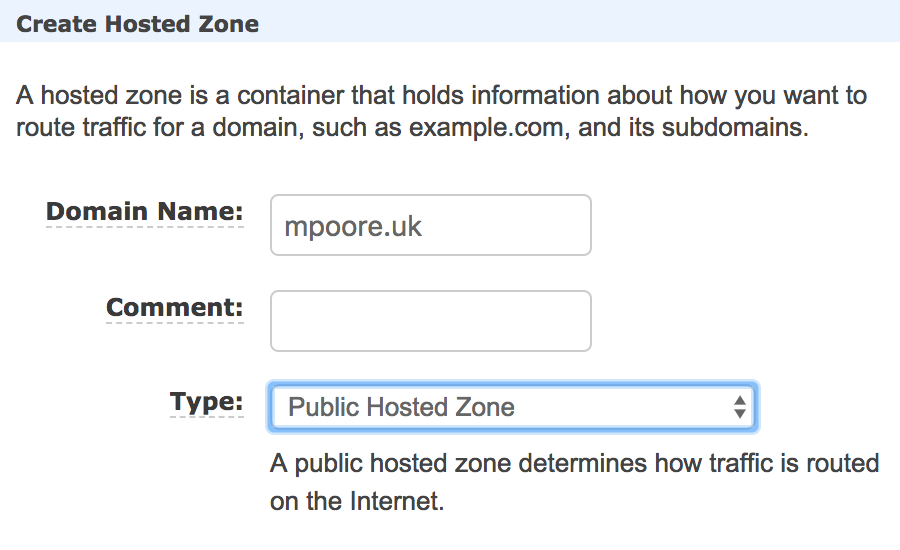
All you need to enter is the domain name and leave the type at its default value (“Public Hosted Zone”).
The zone is created for you and helpfully tells you what namesservers need to be set:
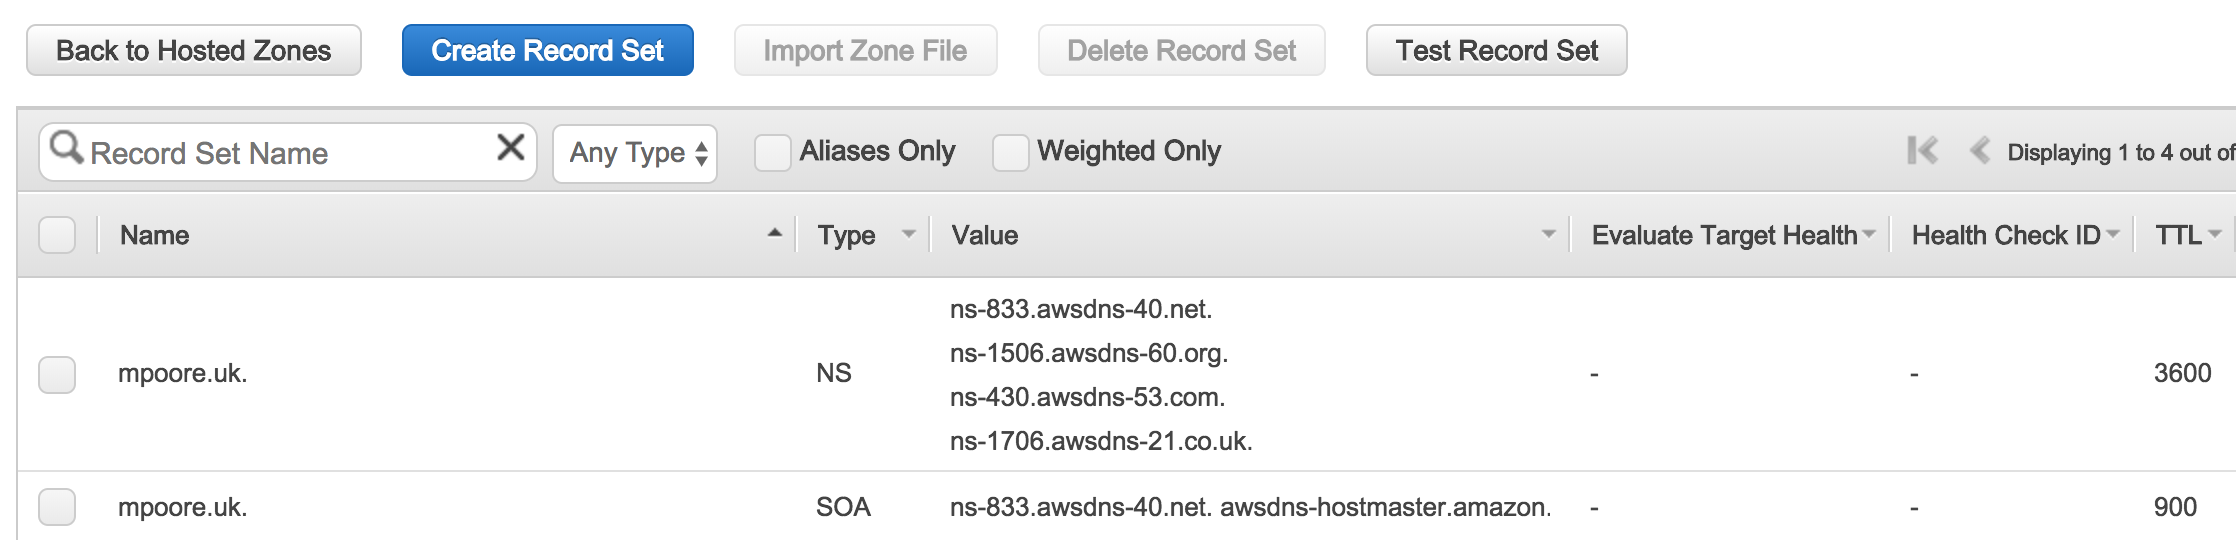
All I then had to do was apply those nameservers to the domain in FastHosts:

Once the dust settles, DNS requests for mpoore.uk will go to AWS for resolution. Which is important as I want to set my site up with an SSL certificate (as Amazon will give you them for free) but validation requires DNS.
So let's do that next…